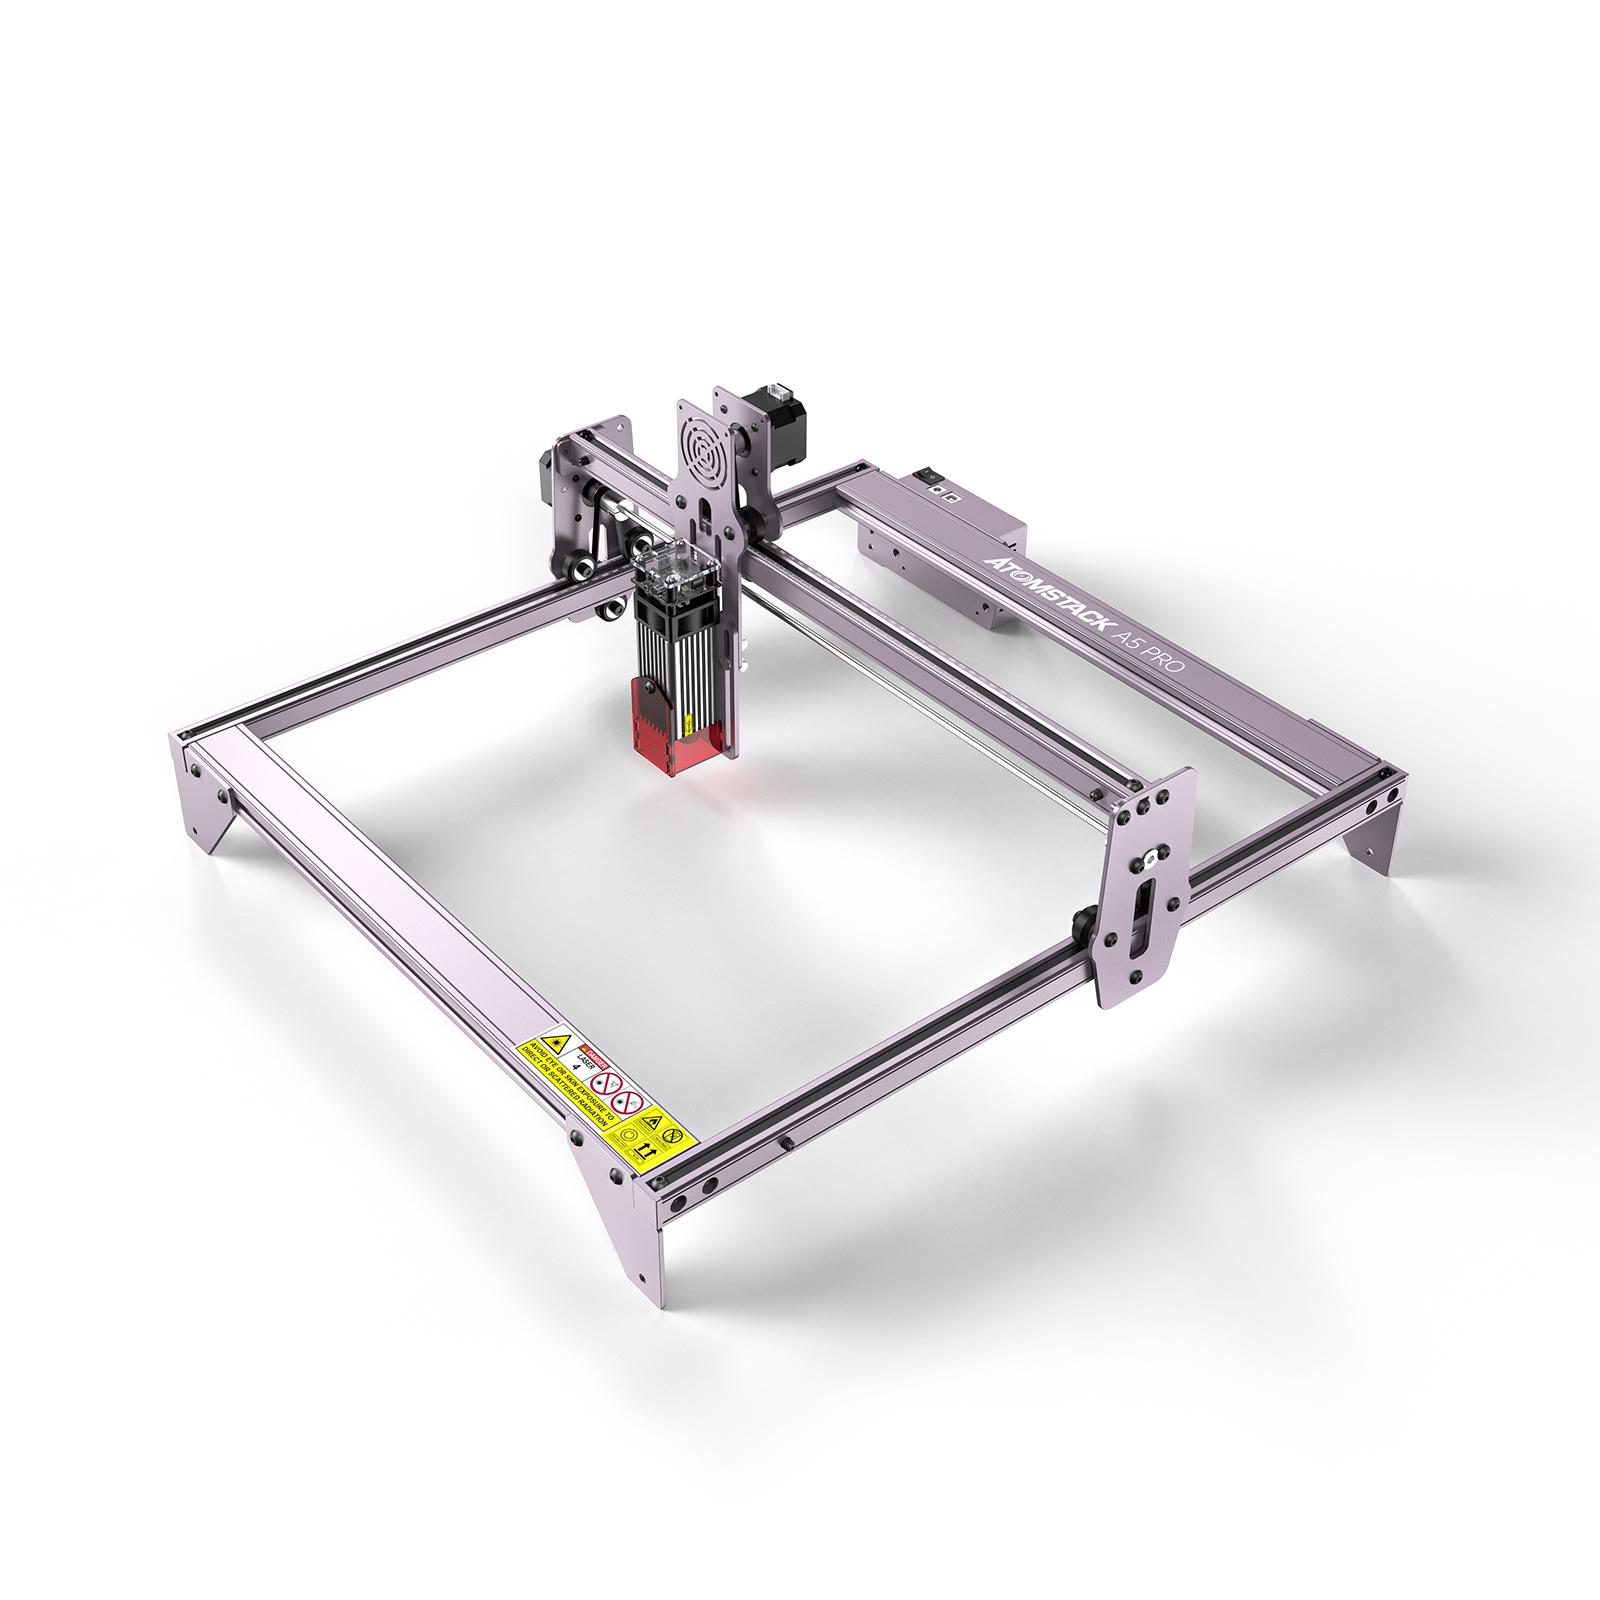
Every now and then I've been blogging about a test report of one of these laser cutters or laser engravers lately. Today, however, there is a report about a particular device: the Atomstack A10 Pro, which the manufacturer sent me to test. Why is he so special? Because it has a light output power of 10 watts, it is very powerful.

I've just cut cardboard with the settings I've been operating with other laser cutters before and suddenly there's a lot of smoke coming out of the cutting area. I thought I should stop working, but the smoke was getting louder until I realized the cardboard had been set on fire by the laser.
With 10 watts of optical output power, the A10 Pro is by far the most powerful laser I've tested. Read the test report for my overall thoughts on laser cutters and engravers, as well as their pros and cons.
Sparks flying during laser engraving, probably due to the type of mineral. Fortunately, there was no fire, but the cut in the stone came out very clean, which I wasn't expecting. I was thinking that there might be some surface discoloration that might attack the rock above, but the Atom Stack laser actually cut the rock, which was more than I expected.
It's hard to catch, but these are two sparks that flew while working on my stone.
Product model: Atomstack A10 Pro
Manufacturer: Atomstack
Engraving these materials: wood, bamboo, cardboard, plastic, leather, circuit board, aluminum oxide, non-reflective, electroplated and metallic paint finish, 304 mirror stainless steel, glass, ceramic, cotton, slate
Cut these materials: cardboard, non-woven, wood, acrylic, thin plastic sheets, sponge
Laser power: 50W
Laser output power: 10-11W
Wavelength: 445+/-5nm
Engraving area: 410*400mm
Emergency stop: yes
Reset switch: Yes
Engraving precision: 0.01mm
Focusing method: fixed focus laser, no need to focus
Operating software: LaserGRBL, LightBurn, support Win XP/Win 7/Win 8/XP/Win 10 system.
Input format: NC, BMP, JPG, PNG, DXF, etc.
Data transfer method: USB connection or SD card
Input voltage: AC100-240V, 50/60Hz
Power adapter output voltage: DC12V, 5A
Laser sintering temperature: up to 1200°C
Auto Homing Stop: Yes
Protective glass on the side of the laser
Engraving without a computer: yes, via touch display and SD card
Software (not included): LaserGRBL, support Win XP / Win 7 / Win 8 / XP / Win 10 / Win 11 system; LightBurn, support Windows/Mac OS/Linux
The Atomstack A10 Pro laser cutting machine comes in a relatively small package, which is then assembled by the user - but don't worry: you don't have to solder, just plug the cables together and tighten the screws. All tools are included.
Here you can see the individual parts that come together to form the final A10 Pro laser engraver.
Jobs transferred via SD card can be configured and started via the touch display. This can be done completely without a computer in the background.
Panoramic protective window on the laser head
According to Atomstack, laser goggles are not strictly necessary for using the laser, as there are shields on all sides of the laser head. It even has a blue panoramic protective glass on one side, through which the work can be viewed, but it shields the laser well enough to keep the user safe.
The built-in protective glass in the laser module is something you won't appreciate until you get some work done with the Atomstack A10 Pro laser engraving machine. At some point, I stopped wearing glasses because I thought glass was safe. Other modules also have glass like this, but these never close completely, so the laser beam can still escape the sides.
Panoramic protective windows are very useful in everyday life because you can practically do without laser safety glasses.
Of course, two things are interesting: how the laser ends up performing in practice and what the results look like when cutting and engraving.
Here I want to say again: be careful with flammable materials. The output of the laser is very high, and since the air is provided by the air assist, it sets the material on fire faster than you can see. To do this, I use lower output power, higher speed and multiple passes through the combustible material so that the laser doesn't affect one spot for a long time.
After getting close to the fire, I also wanted to create something meaningful, and downloaded a fish fossil from the internet, and I adjusted the contrast a little bit. The ulterior motive is that I will laser engrave the painting into the rock, which may look like a fossil.
The Atomstack A10 Pro at 80% power is hot enough to melt rocks slightly. As a result, the area hit by the laser darkens, giving it a petrified appearance. I would say this project is a hit and my kids say it looks real.
20W atomstack s20 pro laser engraving cutting machine.